Dealing with water damage in your home can feel overwhelming, but the bigger concern often comes afterwards: mould! It can sneak into your walls, carpets, and ceilings, creating health risks and costly repairs if you don’t handle it quickly. The good news? With the right approach, you can take control and tackle mould effectively.
This article provides practical tips on remediating mould after water damage. Read on for the details!
Call Professional Remediation Services
Mould remediation isn’t always a do-it-yourself project. If you encounter any of the following, it’s best to bring in professional help:
- Mould infestation covers a large area (greater than 10 square feet)
- You notice mould in your heat, ventilation, and air conditioning (HVAC) system or ventilation duct
- Household members experience persistent allergy-like symptoms, such as coughing, sneezing, or skin irritation.
- You’re unsure about the safety or effectiveness of handling mould on your own
An experienced mold remediation company will use specialized equipment and techniques to remove mould safely and thoroughly. While this option is more expensive, it’ll ensure you resolve the problem completely.
Assess the Extent of the Damage
After water damage, you need to identify how severe the mould problem is. Mould grows in damp and dark areas, so inspect for visible spots in colours like black, green, or white on walls, ceilings, and floors. Remember to check hidden spaces, such as behind drywall, under carpets, or inside vents, as mould often spreads unnoticed.
If the affected area is small, you may be able to handle the cleanup yourself with proper precautions. However, if the mould covers more than 10 square feet or has spread into your HVAC system, it’s best to hire a professional remediation service. Their expertise will ensure a thorough and safe solution.
Protect Yourself Before You Begin
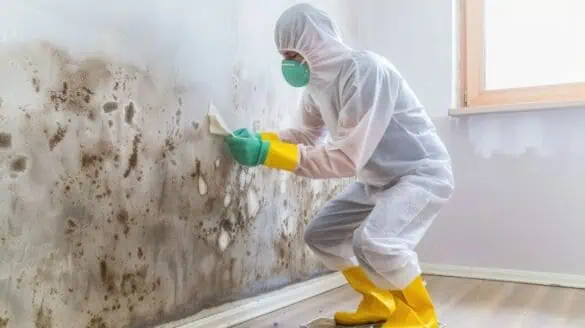
Mould can release harmful spores into the air, so wearing protective gear is non-negotiable. Equip yourself with:
- An N95 respirator or mask to avoid inhaling mould spores
- Gloves to protect your skin
- Goggles to shield your eyes.
Consider opening windows and using fans to make sure the area is well-ventilated. However, avoid aiming fans directly at the mould, as this can cause the spores to spread further. This will help keep you safe during the cleanup process.
Identify and Stop Moisture Source
Mould thrives in damp environments, so dealing with the source of moisture is vital to stopping its growth. Look for issues like a leaking pipe, a damaged roof, or poor drainage around your home.
Once you identify the problem, take immediate steps to fix it. For example, repair the roof, address leaks promptly or improve drainage to prevent water from pooling near your foundation. In more severe cases, enlisting professional water damage restoration in Frisco TX can help ensure the area is properly dried and treated to prevent long-term damage.
After addressing the issue, consider using dehumidifiers to lower moisture levels in the affected area. Make sure the space is completely dry before beginning mould removal. This will help prevent mould from spreading or returning.
You can also monitor your home’s humidity levels with a hygrometer. Keeping the humidity below 50% is an effective way to stop mould from forming. This simple step makes a big difference in maintaining a clean and healthy environment.
Remove Mouldy Materials
You may not be able to salvage all materials after mould exposure. Porous items like drywall, carpets, and insulation are often beyond saving because mould grows deep into their fibres. Carefully remove and dispose of these materials in sealed plastic bags to avoid spreading spores.
For hard surfaces such as metal, glass, or tile, scrubbing with a mould cleaner or a mixture of bleach and water (1 cup of bleach to 1 gallon of water) can effectively remove mould. Always rinse and dry the surfaces thoroughly afterwards.

Clean and Disinfect the Area
After removing visible mould, clean the entire area to eliminate any remaining spores. Use a high-efficiency particulate air (HEPA) vacuum to clean up dust and debris, which may contain tiny mould particles.
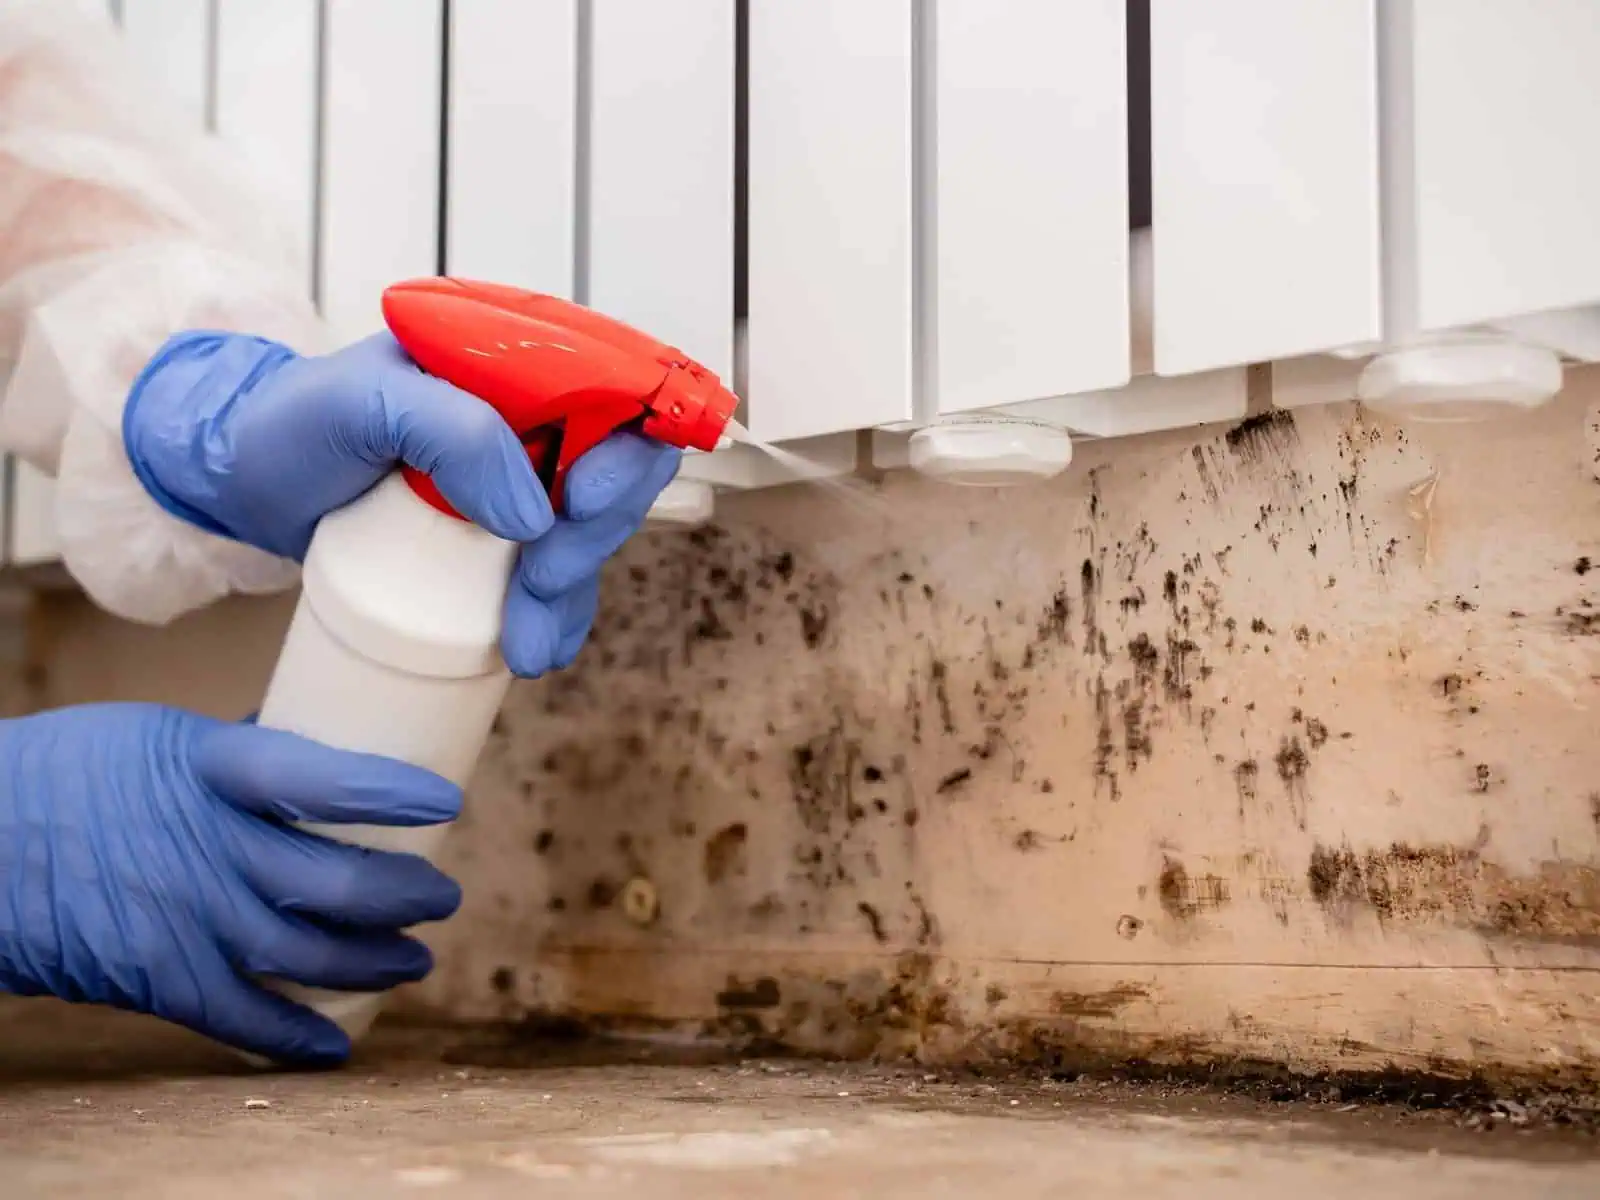
Next, disinfect all surfaces using antimicrobial cleaning solutions or commercial mould cleaners. Pay extra attention to corners, edges, and other hard-to-reach areas. Once cleaned, allow the area to dry completely.
To improve indoor air quality, use an air purifier with a HEPA filter to trap airborne spores. If the weather permits, open windows to increase ventilation and help remove lingering odours. This will reduce the risk of mould regrowth and ensure a healthier environment.
Prevent Future Mould Growth
Stopping mould from returning is just as important as removing it. First, address any leaks right away. Even minor water intrusions can create the perfect conditions for mould to grow.
Next, focus on improving ventilation to purify air throughout your home. Use exhaust fans in bathrooms, kitchens, and laundry rooms to reduce humidity. A dehumidifier can help keep moisture under control in damp areas like basements.
Finally, inspect your home regularly to catch potential issues early. Look for water stains, damp patches, or musty smells, as these can signal hidden moisture problems. This will ensure your space stays mould-free, healthy, and comfortable.
Conclusion
Successfully remediating mould after water damage is about more than just cleaning—it’s about creating a healthy, safe environment for your family. While the remediation process can seem daunting, following these steps will ensure your home is free of mould and protected against future outbreaks. Remember, addressing mould early is key to avoiding larger, more expensive problems. With a little effort and diligence, you can restore your home and breathe easy again.

